Tuesday, March 13, 2018

Mercedes W123 Brake Peddle Repair

With the introduction of automotive plastics in the 1970's, time is now and will continue to take its toll on these parts. 

A part that will more than likely fail if you own a W123, will be the plastic brake peddle bushing/retainer. Thankfully, Mercedes still has the parts to get the job done.

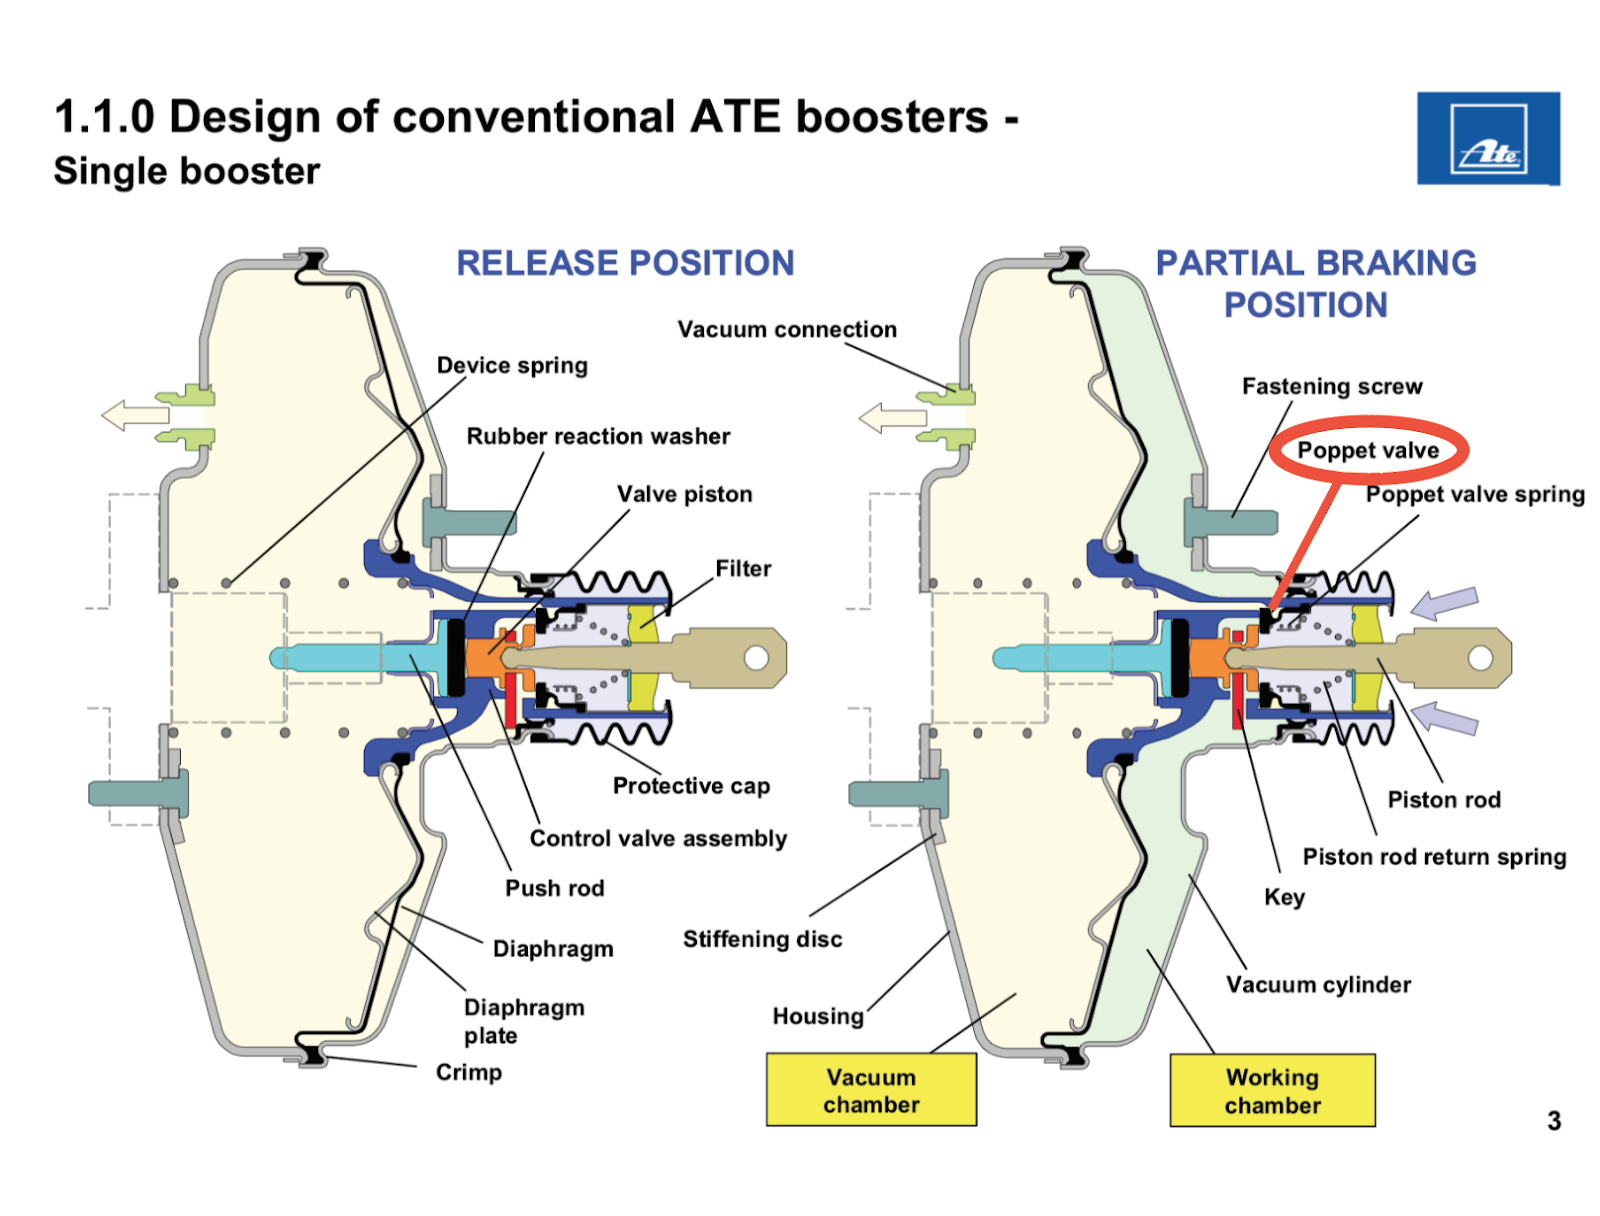
If you notice side-to-side movement in our brake peddle, it's time make the repair. By leaving this part unattended to can cause brake booster failure.

STEP 1
Remove lower dash covers

STEP 2
Unplug wiring as needed and lower cruise control module. You can let the cruise control unit hang to the side
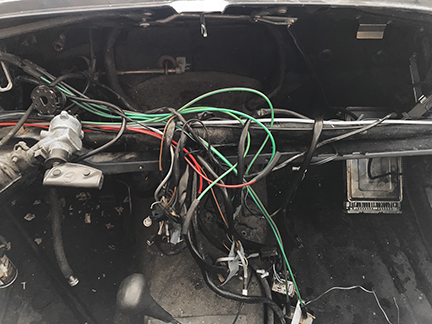
STEP 3
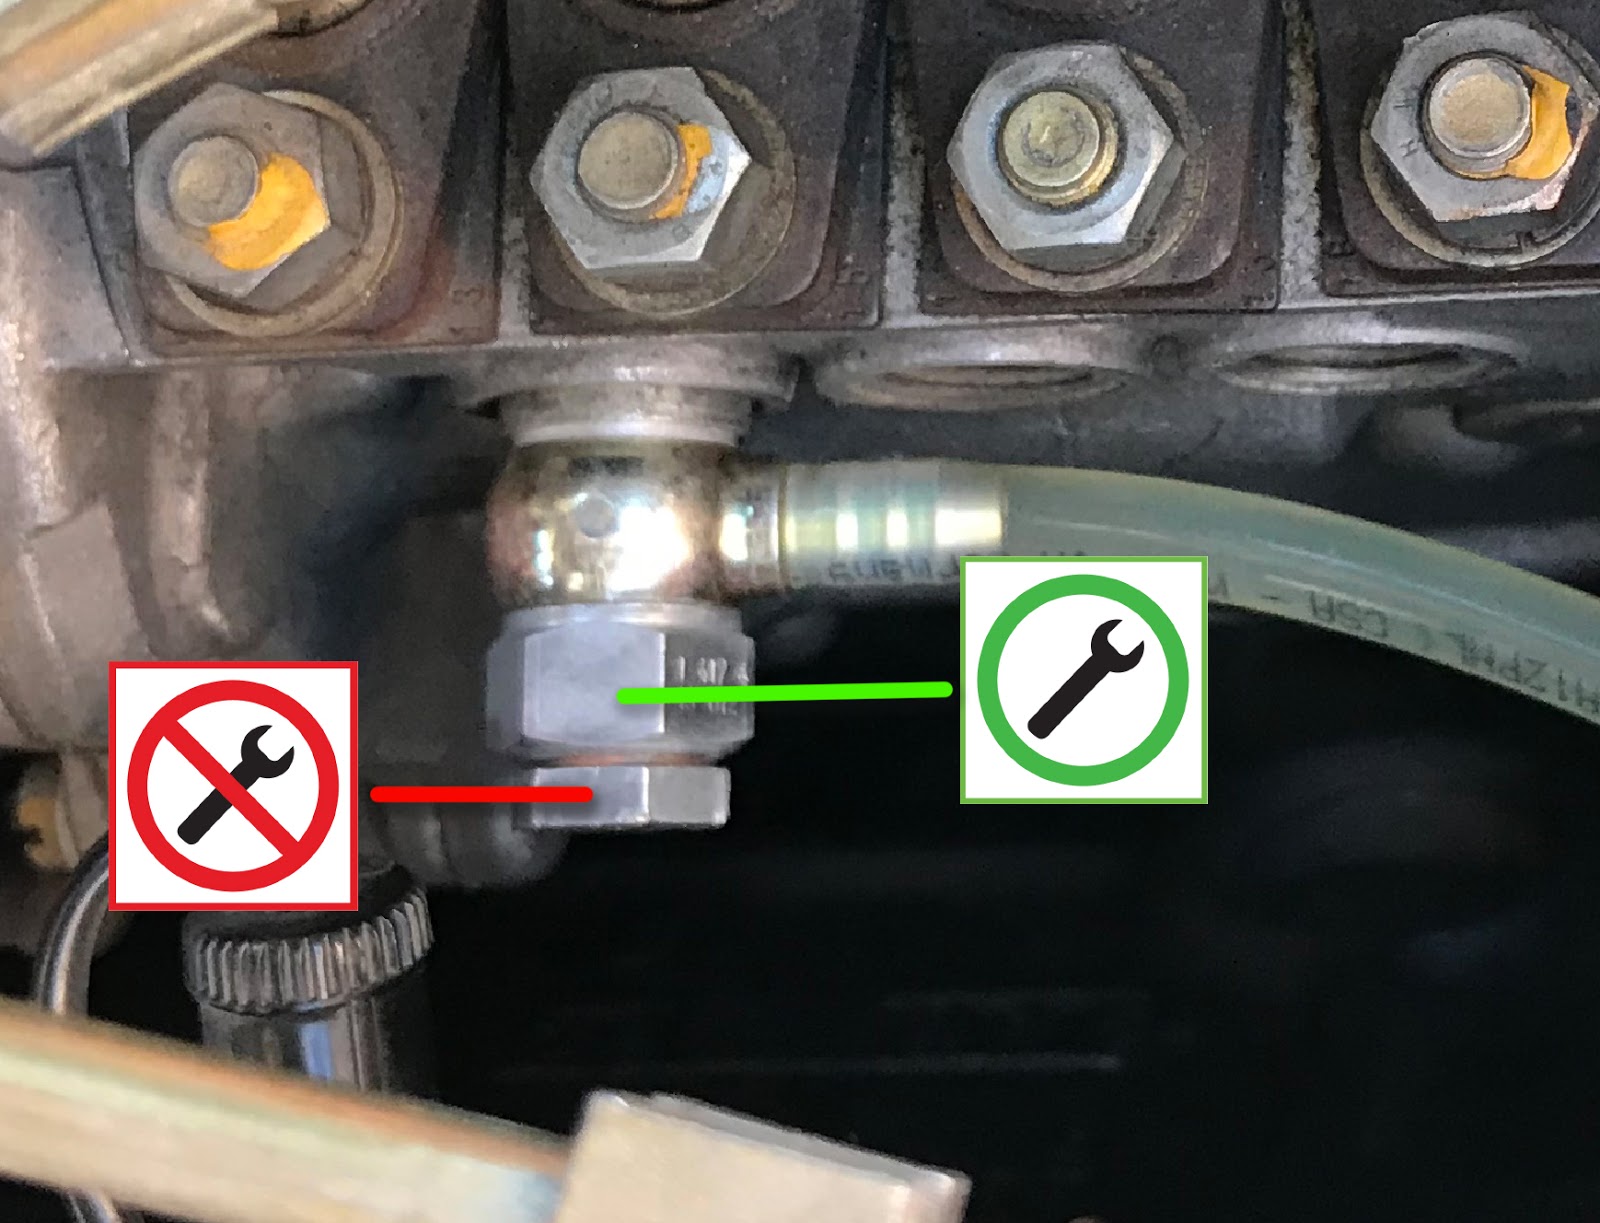
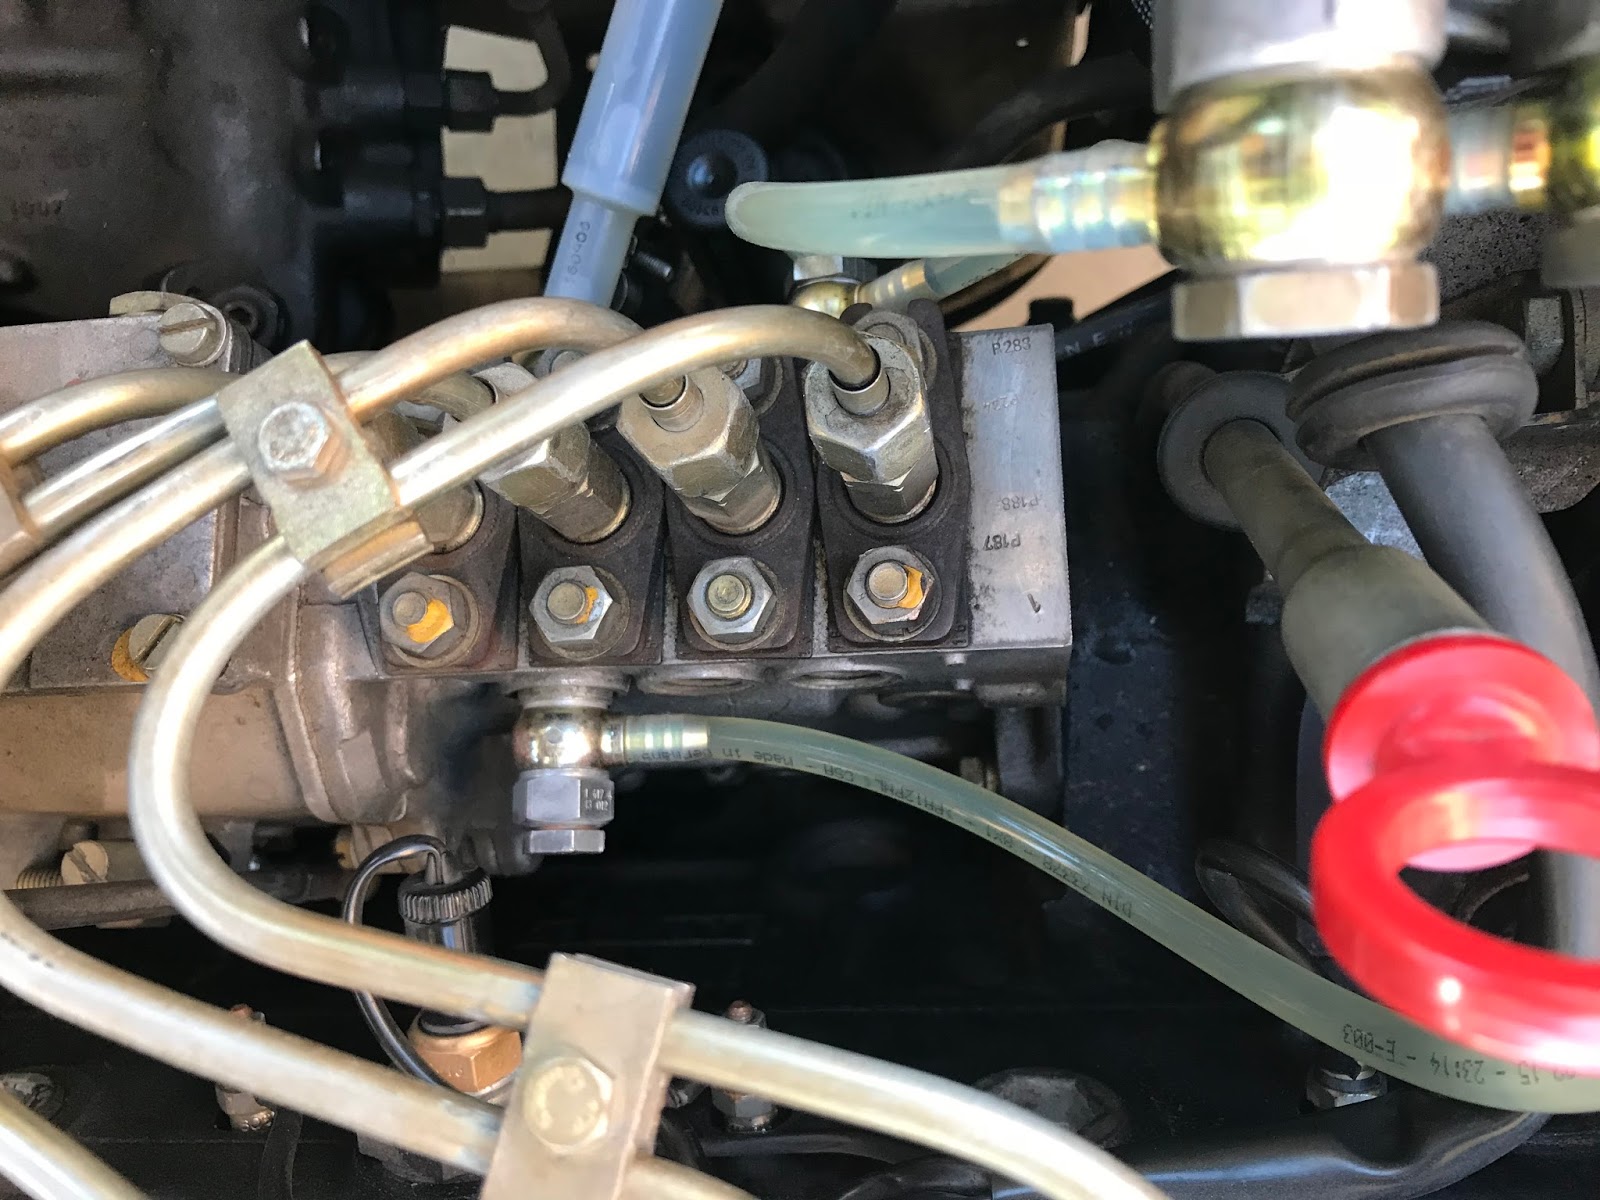
Remove brake master cylinder and booster

STEP 4
Unplug brake light switch. This is a two part plug, but can be unplugged as one.

STEP 5
Remove brake peddle holder assembly. To do this, wiggle assembly back and forth while pulling toward back of car. It will take a bit of work to release the assembly from the dash brace and rubber buffer. Don't lose the rubber buffer, and check to make sure it is in good shape. You will want to make sure you have this rubber part as it will cause vibration and other noises if you do not.


STEP 6
Remove return spring from peddle and remove brake peddle from assembly.

STEP 7
Gently tap bushing into brake peddle with rubber or plastic mallet until fully seated.


STEP 8
Reinstall brake peddle to assembly.

STEP 9
Do not order the bushing until you remove the entire unit first. It appears some of the cars needed shims. If all is not very tight it will cause excess movement in the peddle and cause the new bushing to fail. 

STEP 10
Return assembly as it was removed.

STEP 11
Return booster, master cylinder and fluid reservoir

STEP 12
Refill system with approved brake fluid and bleed braking system. Make sure there is no air in the lines. You can make this process much easier and a one man operation if you purchase Speed Bleeder brake bleeders. Excellent product and excellent customer service.


Sunday, March 4, 2018

W123 • Fuel Pressure Relief Valve

Final check to insure a smooth idle... The Fuel Pressure Relief Valve. It's simple, quick and just might make all the difference in the world. 

It's hard to believe just how much bad information gets on the web. What's worse is how gullible we often are to buy into it without question or further research. 

On occasion I scour the web to see what bad information I can find on ways people suggest fixing particular automotive problems. After just a few minutes of reading or watching a Youtube video, it becomes evident most people never read the workshop manual. For 99% of any problem that will arise on your car, there is a corresponding fix from the manufacturer. No guessing required what so ever.

Unfortunately so many great older cars are being butchered from bad advice, laziness, or the assumption the manufacturer had no clue what they were doing from the start. Indeed there are manufacturers who built very unreliable products that should have never been put on a car, but as it pertains to Mercedes, there are few components that were engineered that did not perform near flawlessly.

With that in mind, if your diesel is still running rough with all the previously mentioned items checked or replaced, there is one last component to getting your W123 diesel to run like it did from day one. The Fuel Pressure Relief Valve.

STEP 1
Locate Fuel Pressure Relief Valve highlighted in green.


STEP 2
Remove valve. Fuel will run out so have a rag under the valve and/or a drip pan under the car. Note from photo wish bolt to loosen. 


Once the valve has been removed, it will need to be separated and checked. To separate, either hold with two wrenches or carefully place in a vice and loosen the top "bolt" cap. WARNING: Only loosen! Separate valve by hand and over a pan or rag. A spring and ball bearing are inside. 

Once separated, the is what you will see.

Mercedes-Benz Fuel Pressure Relief Valve from a 1981 240D


STEP 3
Make sure everything is thoroughly cleaned after taking this apart. It should already be very clean since fuel is constantly flowing through this valve. It can however attract sludge depending on how the car has been maintained. 

Once clean, measure the spring using a micrometer. When I measured the spring that was removed from my valve, it measured 19.76mm. According to the Mercedes-Benz worship manual it can measure up to 27mm max. Based on the max of 27mm, I gently stretched the spring to 25mm exactly, and reinstalled.

This simple procedure made the most drastic difference of anything I could have done. While the car was running much better with all the other adjustments and replacement parts, this "put the icing on the cake, as the video in my last post demonstrated.

Mercedes must have known this could or would become an issue since it is specifically mentioned in the manual. Regardless, it's worth the check to see if your spring has compressed over the many years in service. I'm sure it has, and could use a stretch.

I would not recommend starting off with 27mm however. Good luck.

Saturday, March 3, 2018

W123 Mercedes 240D Idle Test - Video

A well running W123 diesel should be very smooth. Over the years I have been told "they all rattle and vibrate, they always have, even new." 

I have had a hard time believing Mercedes-Benz would or could ever sell a car that vibrated as much as I have been told is "normal." Mercedes was up against high-end luxury cars in the United States and had to meet a fairly high standard of luxury and comfort regardless of whether or not it was a diesel.

With that in mind, I set out on a journey to see just what was necessary to make my 1981 240D run like Mercedes designed it to. With many checks and a number of maintenance items replaced, this car is once again running excellently and I am pretty convinced it is running close to factory if not at factory spec. 

It should be noted that the process of "tuning" should begin with a compression test. If that fails, no need to go further until that is rectified. 

The following test is usually performed on Rolls-Royce, but I thought it would be a great demonstration for a diesel, and the results truly surprised me. Prior to the work I performed, this glass would have bounced right off the valve cover.


Tuesday, February 27, 2018

W123 Diesel • Rough Idle

If you have come this far, you either own a W123 diesel or are interested in acquiring one. In either case, there is no need to settle for a rough running diesel Mercedes.


If you have a W123 diesel, 4 or 5 cylinder, there is no doubt they vibrate and are certainly louder than modern diesels, but that is no reason not to make sure your Mercedes is not running as smoothly as possible. 

When I acquired my 1981 240D, and not being familiar with just how these diesels were to perform, I was more forgiving than I am now. Regardless, the following are a few very important items to look at and know about.

Let's work from back to front to find out why it might be running rough.

• Is the fuel tank filter clean or new? If you don't know it's time to find out and most likely replace it.

• Are the rubber connecting lines from the fuel tank filter and along the way up to the front of the car new? If not they are most likely brittle and can easily be drawing air in to the system. Even if they are not leaking they can be allowing air in.

• The two fuel filters, primary and secondary, in the engine bay also need to be changed at specified intervals. 

• Check the plastic fuel lines that are probably no longer clear but dark brown. These too can become brittle over time and begin to allow air into the system.

• The primer plunger must also be checked. If you still have the all metal unit it is most likely leaking and should be changed for the the newer Bosch unit. If you have the newer plunger, depress it 6 or so times and see if it leaks around the base of the plunger. If it does, you are drawing air in to the system from there. 


• Another important factor are the injectors. How long has it been since they were rebuilt or replaced? Again, if you don't know it is time to pull those and have them tested, and if need be rebuilt. Also make sure they are not leaking. If they are, air will be introduced into the system at that point as well. 

• Check the air filter!

• Make sure all the hard injector lines are tight at the pump and injectors. Do not over tighten!


Image: 1981 Mercedes-Benz 240D


Once all these items have been checked and or replaced, you should notice a major difference in performance and smoothness of operation. I also recommend running a lubricant/cetane booster in every tank. With the growing distribution of low sulfur and ultra low sulfur  (LSD/ULSD) diesels, the older pumps are not sufficiently lubricated and require additives to reduce excessive wear. 

I would recommend Red Line 85 Plus Diesel Fuel Additive. This also keeps the engine running much smoother and appears to provide a touch more pep. Every little bit helps. If you are not running additives in every tank to help keep water and sludge from clogging up the system, your entire system might be in need of a good cleaning as well. A very good cleaner I use every 6 months is Liqui Moly Diesel Purge.

It should be noted, that there are many other factors that can cause rough idle such as poor compression, worn timing chain and injection pump timing.

Monday, February 19, 2018

W123 Brake Booster Failure

As our cars age, components will begin to fail and fail unexpectedly. 

While driving my 1981 240D several weeks back, I lost the assistance of the power brake system. Having never experienced losing power brake assist, I wasn't quite sure of just what had happened while attempting to slow the car from 65 mph while exiting the highway.

I did know one thing for sure, it took a lot of leg muscle and putting the car into neutral to come to a comfortable stop. Once at the traffic light, I noticed a loud hissing sound coming from under the driver side dashboard area. The hissing had to have been quite loud considering it was clearly heard over the clatter of the diesel engine.

Immediately pulling off onto a side street seemed like the best idea to find out just what might have gone wrong. The brake fluid reservoir was full and no leaks were visible at the wheels, which left an issue with the master cylinder, calipers, which seemed unlikely, or the brake booster. It wasn't until I put  my head in the footwell and pressed the brake peddle with my hand, did I realize it was definitely booster and vacuum related. That was confirmed yet again, when I arrived at my destination and could not turn off the car using the key. Thank goodness for the stop button Mercedes provided under the hood to burn your fingers on.

The following day I removed the booster and shipped it to Power Brake Exchange in California for inspection and a rebuild. They have rebuilt another booster for me with excellent success and great customer service. 

Several days later, Power Brake Exchange informed me that the "poppet valve" had torn, allowing vacuum to escape and causing the lack of brake assist. Who knew?

The following diagram from ATE shows where the poppet valve is located and it's function. This diagram also shows the general layout of the W123 booster whether your car has a Girlling or ATE system. 


The only purpose for this blog was to provide a bit of advanced warning that this part will probably begin to fail more frequently in more W123's as they age. The good side however, it can be fixed, and you can stop the car provided you give it some good leg. As I mentioned, shifting to neutral also made things much easier. 

Until next time - Drive safely!


Saturday, February 17, 2018

Opening the Heater Box - 1973-1977

Doing what "can't" be done! 
Now that the heater box has been removed, it is time to give it a good overhaul. This is not a job you want to do again for another 40 years. 

Between 1973-September 1977, the heater box at least in the SL series chassis, was partially sealed from the factory. Yes, as crazy as it sounds, it is true. 

The only part you can get to easily is the heater matrix (core) for renewal or repair. The A/C evaporator however is the part that is sealed into the case from the factory. According to the Mercedes workshop manual - (Section 83.1—538/1) "In the event of leaks on evaporator, the air conditioning unit [heater box] on vehicles (up to September 1977) must be replaced, since the removal of the evaporator out of air conditioning [heater box] unit is impossible without damaging the housing."

Image from Mercedes-Benz workshop manual

After doing a considerable amount of research on the web, the local Mercedes service center, and independent service centers, no one would agree to work on this system. Ironically, either no one believed it was sealed or they knew and said it is impossible and required a new box. A new box however, would be just as useless considering an old evaporator would be sealed in that unit.

On occasion, there is a benefit to being incredibly stubborn and this was one of those times. After thorough study of the heater box, I discovered the secret of how Mercedes fit this unit together and the ease by which it can be separated and refit just as it was 40+ years ago.

Sadly, the one or two online suggestions of how to get into the system were horrendously destructive for no reason. Remember, once the box is destroyed or weakened the only option is to source a used box as Mercedes no longer makes the system. While a later system can be installed, it would be the electronic climate control system that would need to be retrofitted to the older chassis and is not nearly as reliable. 

The other major benefit of separating the entire system is to remove the 40+ years of dirt and other crazy items you might find inside. 

What the heater box looked like when it was first opened.


The match case was lodged in the evaporator drain area. 


Below is what the system looks like separated in it's entirety. Once the system was completely disassembled, I thoroughly cleaned it and renewed the foam padding on the flaps with a waterproof 1/8 in. (3.175mm) foam and adjusted the flaps for proper movement. In addition, by removing the "sealed" section, all the deteriorating foam flap seals can be renewed. The only part that was not separated for the photo immediately below is the evaporator from the case. It is however ready to lift out for testing and cleaning.

1973-1977 Mercedes-Benz heater box separated. The evaporator was not removed for this photo
Photo shows "sealed" component section of the heater box and what it looks like when separated.
Ventilation flaps with new waterproof foam and flaps adjusted


Monday, February 12, 2018

450SL Heater Box Removal

So just how hard is it to remove the heater box from a 1975 450SL? Well, it all depends on what you consider hard.


Mercedes-Benz 1975 450SL Heater Box with ducting attached (pre auto climate control)


I would suggest it is not very hard, but it is very time consuming and requires plenty of patience and detail oriented work. If you are going to tackle this project, a considerable amount of the cabin needs to be removed and that is not necessarily fun. That said, it will save you a great deal of money to do it yourself. I will say, whatever someone charges for this job, deserves every penny. I inquired with Mercedes and was told it would be about $3,900 to remove and reinstall the box. The price would go up even more if parts were needed. 

So, if you don't have heat, or leaking / dirty evaporator that's not cooling properly, and you desperately search the online forums for how to reroute hoses to bypass the leaking heater core, consider doing the job right. There is no reason to own one of these great classics without the creature comforts. Moreover, the relatively short time it takes to do this job will give you many years of enjoyment.

Some things to know upfront however, before you get started. This blog will not go into detail on the project but give an overview of the process. Should anyone wish for more detail you may respond to this post and I will consider a more step-by-step write-up.  

If you own a 1973-76 SL/SLC, the following will or may need to be removed, depending on the model year. 

I am going to cover the heater box removal specific to a 1975 450SL. Remember, Mercedes relocated a few components here and there over the production life.

Not necessary to remove, but very helpful:

• Both seats. 

Necessary to remove:

1. Steering wheel
2. Center console 
3. Dashboard (A pillar trim must also be removed at this point)
4. Exterior air intake grills at cowl (remove No. 5 first to see if you can access the hose clamps from there. If not, proceed back to this step)
5. Heat/A/C blower unit
6. Front floor mats
7. If the car is equipped with refrigeration, that system will need to be vacuumed down.
8. Three quarts of coolant will also need to be drained from the radiator, not the overflow tank to prevent even more coolant from flowing into the car.
9. Cruise control unit 
10. ECU
11. A/C drain hoses (each side of heater box)
12. Center dashboard / console brace
13. Front heater box brace
14. Upper heater box mounting bolts
15. Main ducting from heater box to side and floor vents
16. Zip ties retaining main wire harness and vacuum lines along support brace


NOTE: Cover all remaining flooring with plastic and towels as a quart or more of coolant will drain from the heater core when it is being removed. 

Once the previous items have been removed, it is now time to remove the heater box. Again this is a brief overview of the process.

1. If equipped, disconnect the two A/C lines to the evaporator. 
2. Disconnect the two heater hoses from under the cowl area. You may have to access the hose clamp screw by depressing the fresh-air inlet flap from the outside.

NOTE: I used half-sized, labeled Ziplock bags for each nut and bolt I removed for easy re-assembly. 

Once the above items have been removed, the heater box can be removed from the passenger side of either a LHD or RHD respectively. I found bringing the wire harness up and over the top of the support brace worked easier than dropping it below to gain the necessary room to pull the heater box forward enough to free the  heater matrix (core) pipes from the firewall. Once the pipe ends have entered the cabin, gently bend the pipes downward on each side to allow the heater box an easier journey to the footwell of the passenger side floor. It will take some wiggling and gentle rocking and twisting to free it from the transmission tunnel. 

When the box is removed, be sure to check for rust from above and below! Now is the best time to deal with that.


View of dash area once heater box has been removed. It looks worse than it really is.


Heater box right after removal

Parts to renew while you are this far into the system:

1. Heater hoses
2. A/C hoses
3. Plastic rivets for air-inlet grills
4. Expansion Valve
5. Vacuum actuators (fresh-air inlet flaps)
6. Heater box drain hoses (if equipped with A/C)
7. Drain hose grommets through transmission tunnel
8. Clips (if any were lost or damaged in the process of removal)
9. Heater box / blower motor gasket (can only be replaced with heater box out of car)
10. Heater matrix (core) firewall grommets 
11. Check red throttle linkage grommet if worn or brittle. Now is the time to change that.
12. Vacuum switches (X2) at rear of flap levers (if not functioning)
13. All rubber vacuum hose connections.

All parts listed above are still available through Mercedes-Benz.

Again, if there is an interest in a more detailed breakdown of the process, I will consider doing another blog with additional photos. 

The next step is giving the heater box a good overhaul and testing all the systems. My heater box was full of dirt and some stuff I was not expecting to find.

IMPORTANT NOTE: If you own a 1973-1976 SL/ SLC, the A/C evaporator is factory sealed into the case. According to the Mercedes-Benz workshop manual for the heating and cooling system, the case "can not be separated without damaging the heater box." With much study of the system, I was able to cleanly and easily remove the "factory seal" and restore the unite as original. This step is very worth the time, effort and money (if you can't do this step yourself) if the box is already out.  

I contacted many shops around the world to see if a new unsealed heater box could be obtained and  they are simply no longer manufactured. Later boxes will not work as the system was changed to an automatic climate control system from Chrysler Motor Corp. and one you don't want to retrofit. The manual system is far superior.


UP COMING BLOGS


• Heater box overhaul

• Dashboard refurbishing

• Weather seal installation