Sunday, June 17, 2018

W123 Valve Train Noise After Oil Change

If you own a W123 Mercedes diesel and have heard what appears to be valve train clatter, ticking, clicking, tapping, your choice of words, it may very well be the timing chain tensioner. 

Since 2015 my 1981 Mercedes 240D has clattered on start up following an oil change. This apparent valve train noise however subsided the moment the system pressurized, roughly 5-7 seconds. According to Mercedes the 5-7 seconds it took to pressurize was perfectly normal but the clattering was not. Ironically no one pointed to the tensioner as a possible problem.

Understand, the W123 diesels, whether 240 or 300 series engines, do not have hydraulic lifters so there should be nothing to "tick, clatter or tap". The one thing that is hydraulic is the timing chain tensioner.

Changing the timing chain tensioner is not hard and will also potentially restore your timing by a touch, reduce a considerable amount of noise from the engine bay and the biggest thing of all, save other components from being destroyed!

STEP 1
Drain radiator. If you have not changed the coolant in the past 2-3 years, now is the time to service the cooling system. Do a complete flush with new Mercedes coolant. FYI, why do I recommend Mercedes coolant, simple they have proprietary additives that keep the system in good shape for the duration of the 2-3 years it is in the system. Other coolants I have tired have not maintained their clarity on changing as the Mercedes brand has. 

STEP 2
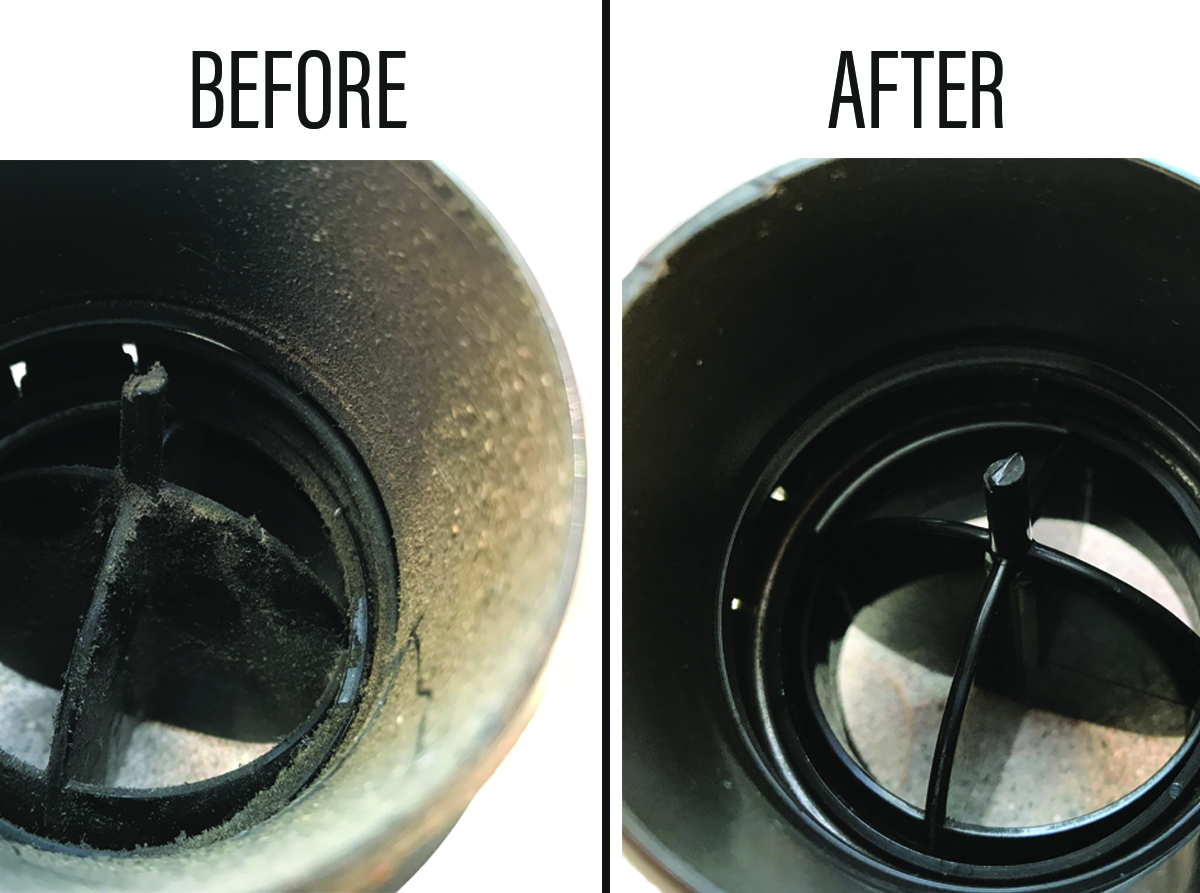
Remove the thermostat housing assembly from the head. You will only need to disconnect the short coolant hose shown below. Check this hose for any dry rot and replace if necessary. NOTE: A considerable amount of coolant will flow out when disconnecting.
In addition, I would highly recommend to replace the two bolts holding the thermostat assembly to the head. They pass through the water jacket and will most likely be rotting. Mercedes has them for about $6 ea. Worth the price to not have a broken bolt the next time you have to get into the system.

This is also good time to replace the thermostat if you need a new one.


STEP 3

Remove the 2 bolts and one exhaust manifold nut. NOTE: more than likely this tensioner will be stuck in place and will need to be pried off the side of the head, but if it still has any "spring" left it will pop out. 


STEP 4

At this stage you can disassemble and see if you can rebuild the unit. Mercedes has the spring but no longer make several other key components in the system that will more than likely need replacing. I went by way of a new tensioner as I need two parts that were no longer available. 

Mercedes-Benz still has the tensioner available for about $330. Febi a German OEM supplier also has them for about $75. I am a big fan of all OEM but in this case I could not see a difference in construction and went with the Febi. Time will tell.

STEP 5
Clean the area around the tensioner hole making sure not to introduce any dirt into the engine. 

STEP 6
Place gasket on end of new tensioner and mount. The new tensioner will have much more resistance and will require you to compress it while installing the bolts. 

STEP 7
Reinstall cooling system components, and refill system with coolant. Do not use the old coolant. 

STEP 8 
Run car and listen for any unusual sounds. Check coolant level after engine has cooled. 


Monday, May 7, 2018

Removing Mercedes R107 450SL Dashboard Vents

After 43 years, the heat and A/C vents are filthy and not moving freely as they did from the factory. While the dashboard is out and being prepped for refinishing I decided to remove the five ball vents for a good cleaning. Here is how to do this with ease. 

The vents are held to the dashboard by a large "wave" washer and two built in clips. 


To remove the vent nozzle depress one of the plastic tabs and gently lift up on that side to keep it from snapping back in place. Repeat the process with the other tab and gently separate the two halves. For the three center vents, a wide flat screwdriver worked great. The end vents however, did not have the room needed for the screwdriver and so I used a paint can opener which worked excellently. 


Next, take a very small screwdriver and gently pry wave washer over tabs and carefully press remaining assembly through the front of the dashboard. 

Once the vent assembly has been removed, it can be cleaned. I use Dawn liquid dish detergent and a soft toothbrush and warm water. The results could not be better. NOTE: Remember the plastics are old and brittle. Be very careful and don't force anything—unless money is no object. 

The vent assembly looked and worked like new after cleaning and reassembly. It's worth the time and effort.


DO NOT grease or lubricate any part in the vent assembly. It was not done from the factory and should not be done now as any lubricant will attract a considerable amount of dirt in the vent. If the vents don't feel buttery smooth, know they weren't when the car was new either. 

The process of installation is the reverse.

Thursday, April 26, 2018

Mercedes R107 450SL High Quality Aftermarket Tail Light Lenses & Seals

Depending on where your Mercedes has spent most of its life, the tail light lenses might very well be cracking or simply dull and or discolored. The rubber weather seal is a whole other story.

Since November 2017, I have been on the SL Shop waiting list for the first round of aftermarket Mercedes R107 tail light lenses and it was worth the wait. Admittedly, I was a bit skeptical, but seeing is believing and this is an excellent reproduction. The lenses appear to be a very good quality and the fit is just as the originals. As with any product, time will tell if they are as excellent as the originals. The colors are very deep and rich which is often a shortcoming on aftermarket lenses. 

With the lenses I also purchased the weather seals from the SL Shop. These seals have a perfect fit and first rate quality in addition to feeling every bit as good as the Mercedes weather seals for a fraction of the cost. Again, another several decades will be the true test, but for now it couldn't get any better.

The SL Shop, located in the UK, has provided me with numerous parts thus far for the R017 restoration. I am not only very pleased with all of the parts, but am just as delighted with their dedication to customer service. While I source many of my parts directly from Mercedes, I will continue to purchase from the SL Shop on excessively priced parts or aftermarket parts no longer available from Mercedes.

The following images show the original 43 year old Mercedes taillight along with the new after market version. NOTE: When reinstalling, DO NOT over tighten as the lens assembly can crack. The bolts are to be snug, not tight. In addition, do not force any of the parts together. They fit very snugly and should be eased back in place.

The M-B original has faded over the years from being parked in the desert for 8+ years, but remains in remarkable condition.


Every detail is expertly replicated


Assembly as it came out of car before cleaning for reinstallation.


Tuesday, April 24, 2018

W123 Transmission Vacuum Diagram & Shift Issues

If your W123 diesel has shift issues, there is a very good chance that the transmission is just fine. 

There are several things to check, and most of them are vacuum related. Any part of the vacuum system that is failing can and will cause disruption to the transmissions ability to shift properly

SYMPTOMS:

Transmission quickly progresses through gears (1-4) from a stop and does so a bit sloppily. Or perhaps there is flaring between particular shifts. Or perhaps, the transmission is not wanting to shift at all or shifts very late.

These symptoms should be checked at once to avoid potential damage to the transmission. The following check list will help determine what might be going wrong.

CHECK LIST:

Transmission Fluid: Drive car for at least 15 min. to make sure engine and transmission are at full operating temperature. Check fluid level with gear selector in "N". Do not use "P" as you will not get an accurate reading. NEVER OVER FILL the transmission.

Vacuum System: Must be in perfect working order. Even the smallest leak can cause havoc on how the transmission shifts. If need be, isolate the leaking sections by disconnecting them and capping off at the location. Remember, if the vacuum is to high the transmission will want to shift to quickly, if the vacuum is to low, the transmission will not want to shift at all. The transmission vacuum system for the Mercedes 240D is as follows:

The VCV and Transmission vacuum modulator are no longer available from Mercedes-Benz.

Main Vacuum Circuit Components

Change over valve (located on top of valve cover) This part breaks regularly!
Vacuum control valve (VCV)
Vacuum modulator (located at side of transmission)
Vacuum Dashpot (check valve) green in color

ADJUSTMENTS:

If your transmission fluid is at a proper level the next step is to ensure your vacuum system is in perfect working order along with the throttle linkage being properly adjusted

Once you are sure the fluid, vacuum and linkage are in good working order, the next step is to adjust the VCV valve. 

HOW TO ADJUST THE VAVLE:

1. Loosen the VCV valve retaining bolts (no need to remove)

When bolt has been loosened, screws and hose removed, gently remove cover.


2. Remove side cover


3. Using a wrench, turn the nut on the end of the spring counter clockwise if your transmission is shifting early and clockwise if shifting late. NOTE: To make this adjustment you MUST hold the throttle linkage in the closed position while turning the nut. It is also important NOT turn the the adjusting nut more than a few millimeters at a time. If you over adjust, your transmission will not shift out of first gear. 

Leave the cover off while test-driving the car to make it easier to make adjustments while you are on the road.

If this adjustment still leaves your transmission shifting a bit late or early the next step is to adjust the transmission vacuum modulator which we will cover in a subsequent article. 


Wednesday, April 11, 2018

Mercedes Vacuum Diagram


I developed the following digram for the 1975 R107 Mercedes-Benz 450SL so I would have a complete guide should anything go wrong after the car is put back together. This digram does not show the engine vacuum. 


LEAK DETECTION:

When diagnosing leaks in the Mercedes vacuum system, a vacuum pump with gauge is mandatory or should you have a smoke machine on hand, that would be the ultimate way to go. 

First, start by checking the vacuum tanks for leaks. One is located directly under the front fender on the passenger side above the wheel (LHD). This tank supplies vacuum to the central locking system and cruise control. The other tank is located behind a panel to the left of the emergency brake. This one hold vacuum for the climate control. 

Unscrew plastic panel and slide away to expose tank. To remove tank and panel, e-brake assembly must be removed.


Passenger side U.S. model


The vacuum tank for the climate control should not have any issue with deterioration other than the rubber grommet that seals the tank where the vacuum line enters. This part is still available through Mercedes.

The central locking vacuum tank however is susceptible to damage and deterioration as it is open to the elements just above the front wheel. Both the tank and grommet are still available from Mercedes.

A good test to perform to insure proper vacuum is maintained, is to pump up the tank down to 10 mHg. Make certain that your connections are leak free and your gauge is good. The tank should hold vacuum for at least 48 hours without any loss of vacuum. Conduct this test on both tanks. I personally would not recommend using the smoke machine to test the vacuum tanks. 

Finding leaks in the system is not complicated, but time consuming. Most often it is the rubber connectors that dry rot and begin to leak. If you have the original system, it is best to test each section of vacuum line by disconnecting, capping and testing one section at a time. The digram will show how the system is divided up throughout the car.

Vacuum leaks are also very prevalent at the diaphragm type locking modules. At 40+ years, the rubber diaphragms are quite crispy and will likely leak. These include the heater tap, fresh air flaps at cowl, passenger side door, fuel flap, and trunk. The passenger side door lock, and trunk lock on earlier 450SL's are no longer available from Mercedes.

Other points of leakage are the driver door lock master vacuum switch and the vacuum switch at the A/C switch. Both switches are identical in function but are designed differently. Both are available from Mercedes.

Vacuum for A/C Switch is still available through Mercedes-Benz


The final potential point of a vacuum leak is the Ford-Philco cruise control unit. The cruise control unit is most likely under the dash behind the glove box on a U.S. car.

It is also wise to change out any check valves. They are located under the hood at the fire wall driver side. Original check valves are black and green while the new ones are blue and black. These are unmetered.


Friday, March 30, 2018

Mercedes-Benz Mislabeled Parts

If you own an R107 (convertible) and need either a new fuel tank filler neck grommet (seal) or a fuel filler door vacuum lock, they have been improperly labeled by Mercedes.


107 Fuel Tank Filler Neck Grommet

If you order this part from any of the resellers or directly from Mercedes-Benz, for your R107, you will most likely receive part number 123 997 35 81. This is incorrect, as it is for a W123 and does not fit the R107. The correct part number is 107 997 24 81. This however does not end the confusion. This part number, although correct, is labeled in the Mercedes system to only fit the C107 (coupe) which is incorrect. It fits both the R107 and C107 cars. 

Yes, this seal is important so water does not enter the trunk during rain or washing. 

The photo shows an old R107/C107 seal and a new W123 seal. As you can see, very different design.


107 Fuel Filler Door Lock

Similar to the grommet, if you purchase the R107 fuel filler door vacuum lock for an R107, it will turn up an incorrect part. The correct part is 107 800 12 75 which once again shows it will only fit the C107 (coupe).

NOTE:
As with any purchase, make sure to check your individual chassis and part. Mercedes, like many manufacturers changed parts etc., throughout production.

If you are unfamiliar with the Mercedes part numbering system, the first three digits of the 10 digit number usually indicate the body/chassis production design, i.e., 123 000 00 00 is for a W123 (240, 300...) and 107 000 00 00 would indicate R107/C107 (350, 450 560...)

While Mercedes does supersede part numbers on occasion, it will still generally be superseded with in the same similar time period of production. For example a W116 might have a part number supersede to an R107 and visa versa. 

Tuesday, March 13, 2018

Mercedes W123 Brake Peddle Repair

With the introduction of automotive plastics in the 1970's, time is now and will continue to take its toll on these parts. 

A part that will more than likely fail if you own a W123, will be the plastic brake peddle bushing/retainer. Thankfully, Mercedes still has the parts to get the job done.

If you notice side-to-side movement in our brake peddle, it's time make the repair. By leaving this part unattended to can cause brake booster failure.

STEP 1
Remove lower dash covers

STEP 2
Unplug wiring as needed and lower cruise control module. You can let the cruise control unit hang to the side

STEP 3
Remove brake master cylinder and booster

STEP 4
Unplug brake light switch. This is a two part plug, but can be unplugged as one.

STEP 5
Remove brake peddle holder assembly. To do this, wiggle assembly back and forth while pulling toward back of car. It will take a bit of work to release the assembly from the dash brace and rubber buffer. Don't lose the rubber buffer, and check to make sure it is in good shape. You will want to make sure you have this rubber part as it will cause vibration and other noises if you do not.


STEP 6
Remove return spring from peddle and remove brake peddle from assembly.

STEP 7
Gently tap bushing into brake peddle with rubber or plastic mallet until fully seated.


STEP 8
Reinstall brake peddle to assembly.

STEP 9
Do not order the bushing until you remove the entire unit first. It appears some of the cars needed shims. If all is not very tight it will cause excess movement in the peddle and cause the new bushing to fail. 

STEP 10
Return assembly as it was removed.

STEP 11
Return booster, master cylinder and fluid reservoir

STEP 12
Refill system with approved brake fluid and bleed braking system. Make sure there is no air in the lines. You can make this process much easier and a one man operation if you purchase Speed Bleeder brake bleeders. Excellent product and excellent customer service.